How To Install Custom CA Certificate In Shield
To install a custom CA certificate in Shield, follow these steps:
- Log on to the Domain Controller where the Certificate Authority is installed.
- Open the Certificate Authority MMC (run certsrv.msc)
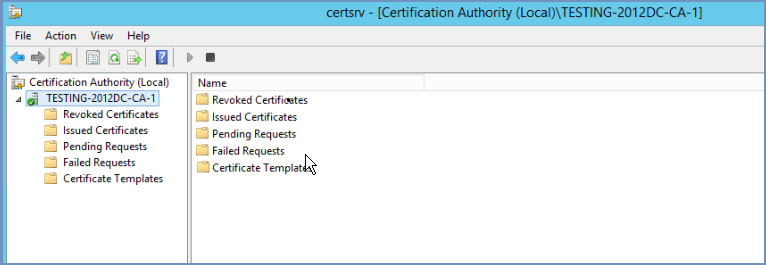
- Right-click the CA name as shown above (TESTING.COM-CA-1 in this example), and select All Tasks –> Back up CA
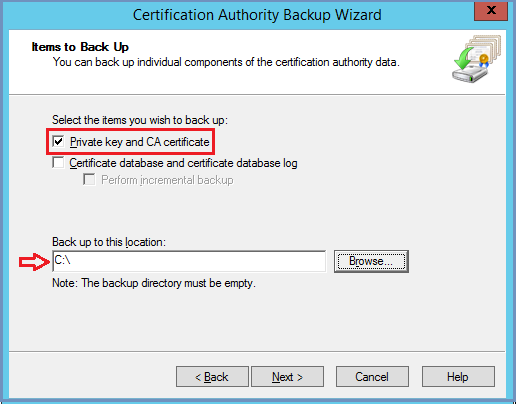
- The Certification Authority Backup Wizard starts. Click
Next. - On the Items to Back Up page, select Private key and CA certificate, enter a location in which to save the file, and click
Next.
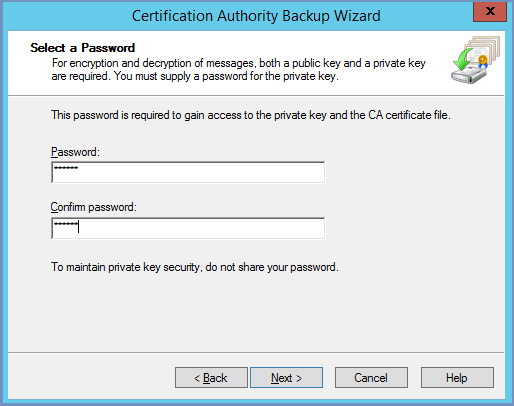
- On the Select a Password page, enter a password and confirm it. Remember it for future use
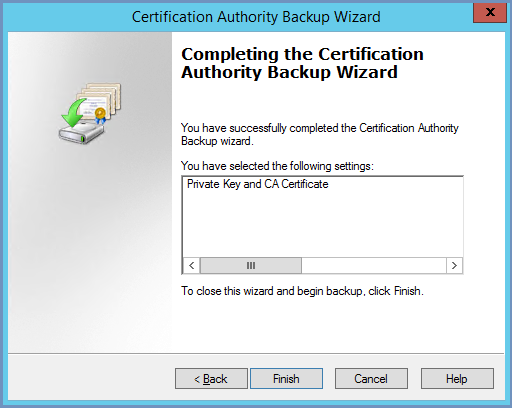
- Click
Nextand thenFinish. When the process is complete, you will have a .p12 file (example CA_name.p12) in the folder you specified. This file contains both the public key and private key for the certificate.
Install OpenSSL for Windows: http://gnuwin32.sourceforge.net/packages/openssl.htm
To extract the certificate (public key), run the OpenSSL command:
openssl pkcs12 -in <filename>.p12 -clcerts -nokeys -out cert.crt
To extract the private key, run the OpenSSL command:
openssl pkcs12 -in <filename>.p12 -nocerts -out cert.key
Upload both cert.crt and cert.key files to Shield admin, under
Settings | SSLsection:
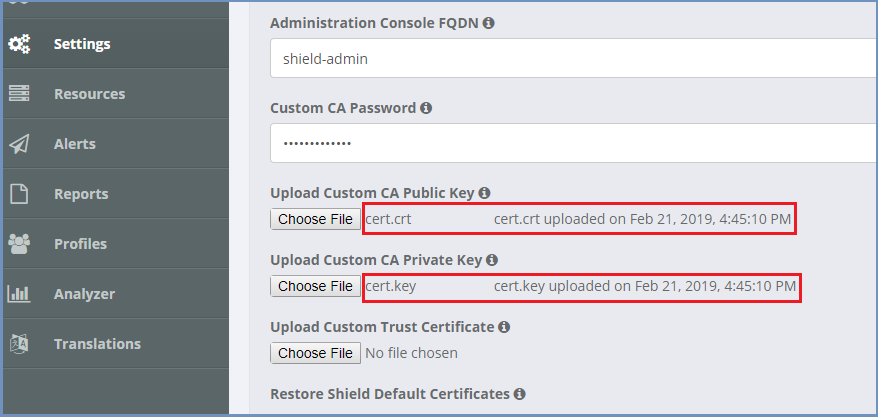
- Enter the Custom CA Password and click
Save.
Note
This is the passphrase for your private keys when they were created, not the password used to export.
- Open a browser and enter a domain. Verify all is working and that the desired certificate is used.