OVAを使用したShieldのインストール - オフライン
サーバー マシンの作成
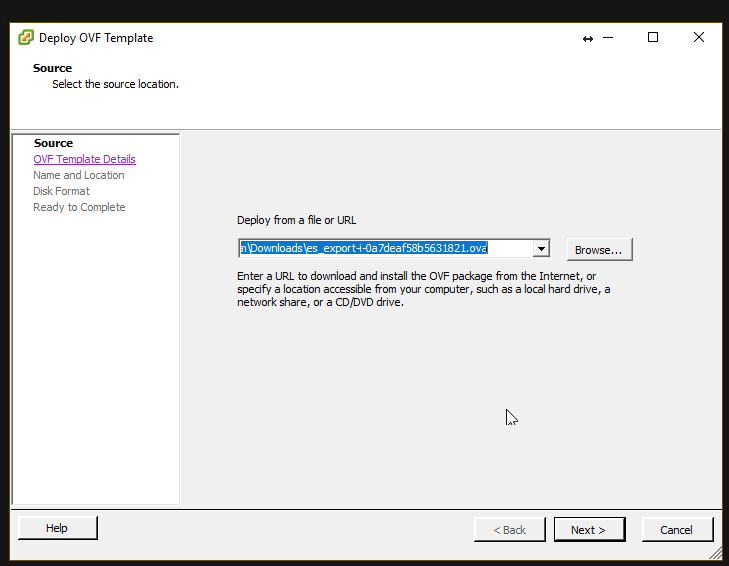
- VMware vSphereクライアントから、
File > Deploy From OVF Templateを選択します。

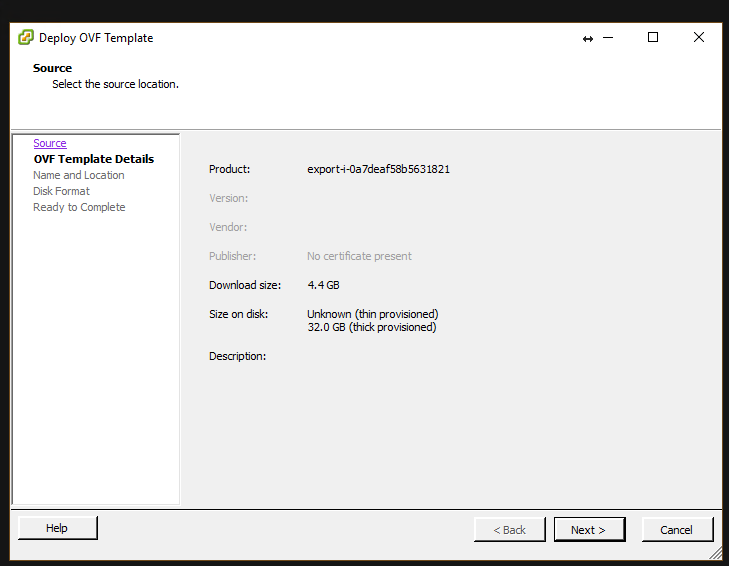
OVA ファイルの場所を参照して選択します。 Next をクリックしてください。
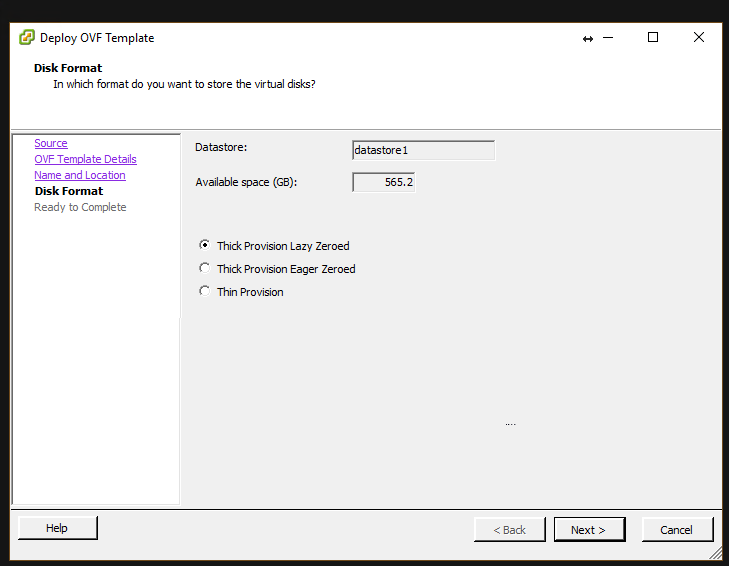
- ファイル名、ストレージ・パスを選択します。すべてのステップを完了し、
Finishをクリックします。
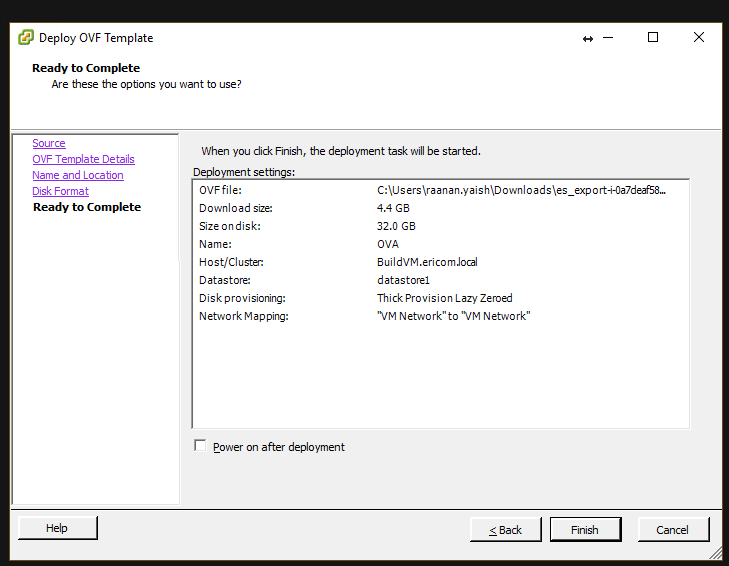
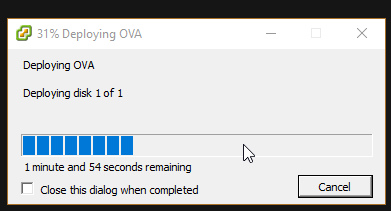
- マシンの準備が整うまで待ちます。
- マシンの設定を入力し、CPUを8コア(最小)または12コア(推奨)に、メモリを16GB(最小)に変更します。
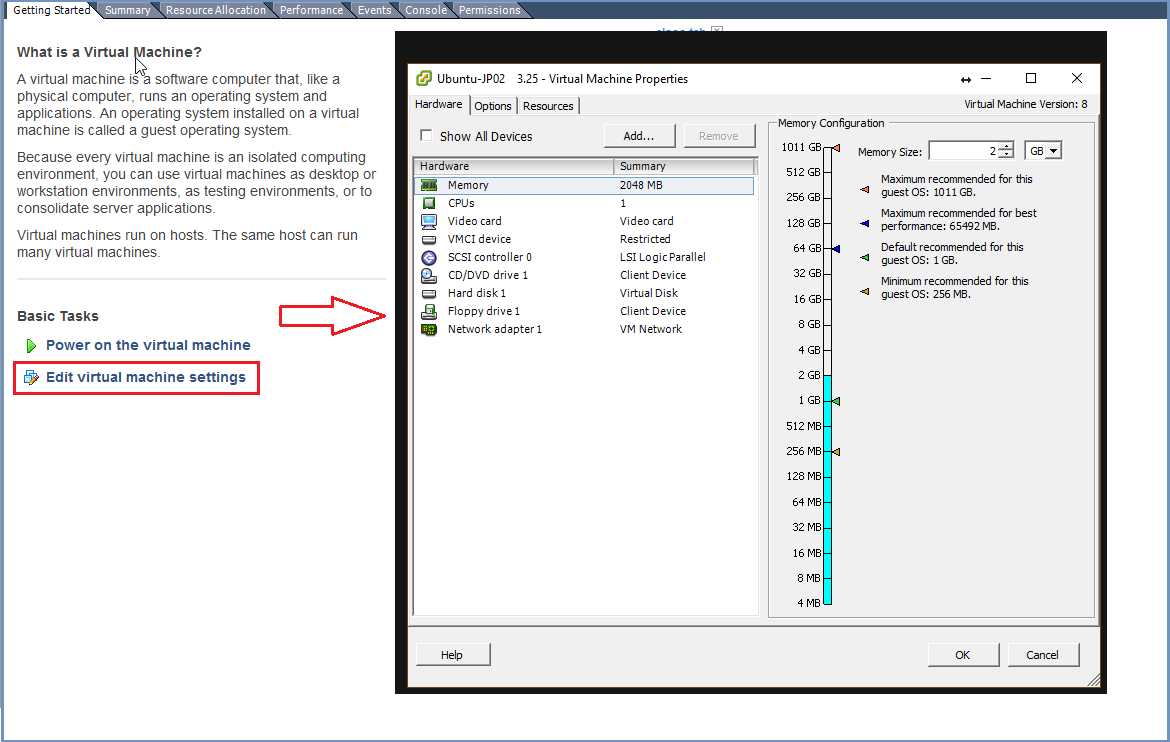
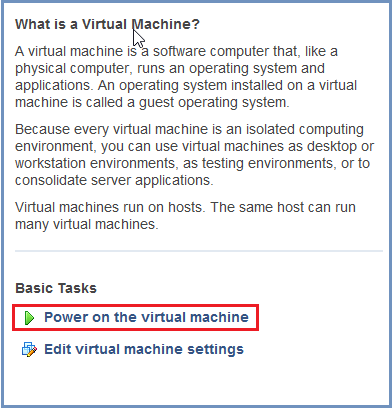
- マシンを起動します。
マシンの準備 で記載されている手順に従ってください。
必要に応じて、OS のサイズを大きくします (VMware のサイズに合わせて)。実行::
growpart /dev/sda1
resize2fs /dev/sda1
Rancherサーバーの準備
参考
Shieldリポジトリには有効な パスワード が必要です。有効なパスワードを取得するには、サポートセンターにお問い合わせください。
Linux Rancher Server マシンで、このサービスを実行します。
sudo ./install-shield.sh -O -l -R -L shield-repo/
このコマンドは、Rancher (-R) をすべてのラベル (-l) で実行し、ローカルおよびオフラインでクラスタの作成を開始し (-O, -L)、OVA ファイルに含まれる Shield リポジトリを使用します。Shieldを展開する前に、プロセスを続行する前に行う必要のあるいくつかの手動アクションについての詳細な説明が記載されたメッセージが表示されます。
offline mode: skipping adding Shield Repo
notice : you are running in offline mode
we need to edit a container that is not working correctly in rancher.
please connect to rancher ui > select shield cluster
on the menu on top, click the cluster name and select 'system'
click on metrics-server under kube-system
click on the ... in the right top corner and select 'view/edit YAML'
change the value of ImagePullPolicy from 'Always' to 'Never'
when you are done, press enter to continue the deployment
メッセージに記載されている指示に従ってください。Rancher | Global | Cluster Name | System に移動します。
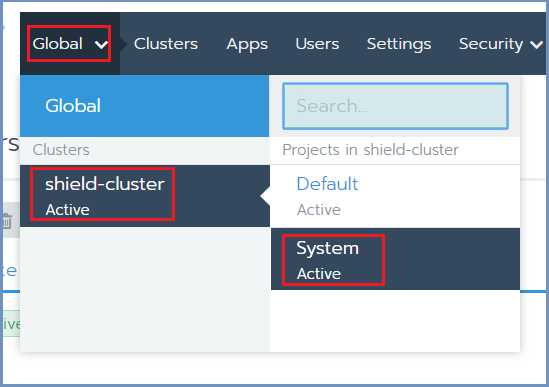
名前空間: kube-system (1) に行き、 metrics-server (2) を選択し、右側のメニュー (3) - View/Edit YAML (4) を選択します。

ImagePullPolicy を Never に変更して保存します

metrics-server コンテナが再起動するのを待ち、緑色になったら準備完了です。rancherサーバーに移動し、Enter を押してインストールを続けてください。
これですべてのサーバーマシンの準備ができたので、インストールの手順を続けます。こちら を参照してください。