Deployment Using OVA
Attention
OVAファイルにて提供するイメージにインストール済みのOSはCentOSのみとなります。Ubuntuでのご提供はございません。ご了承ください。
Install Shield using the OVA on each machine that is part of Shield system. For a multi machine cluster, repeat the OVA installation instructions until all machines are ready and only than - form the cluster.
Prerequisites
VMware vSphere versions 4, 5 or 6 with these hardware requirements:
| Minimum | Recommended | Recommended (ELK) | |
|---|---|---|---|
| Core processors | 4 | 8 | 8 |
| Memory (GB) | 16 | 16 | 16 |
| Disk (GB) | 64 | 100 | 256 |
Download the OVA file from here.
OVA Installation
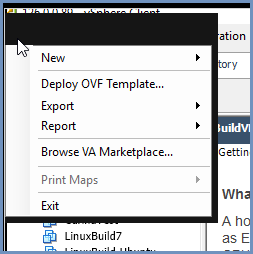
- From the VMware vSphere client, select
File > Deploy From OVF Template.
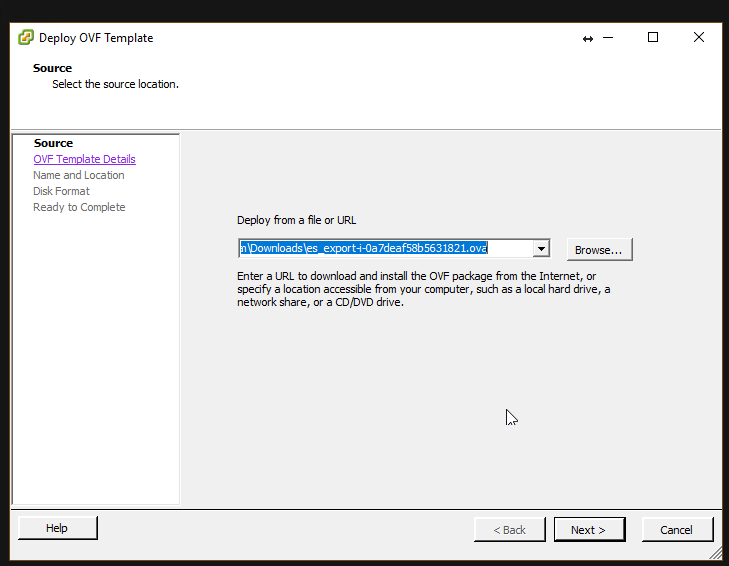
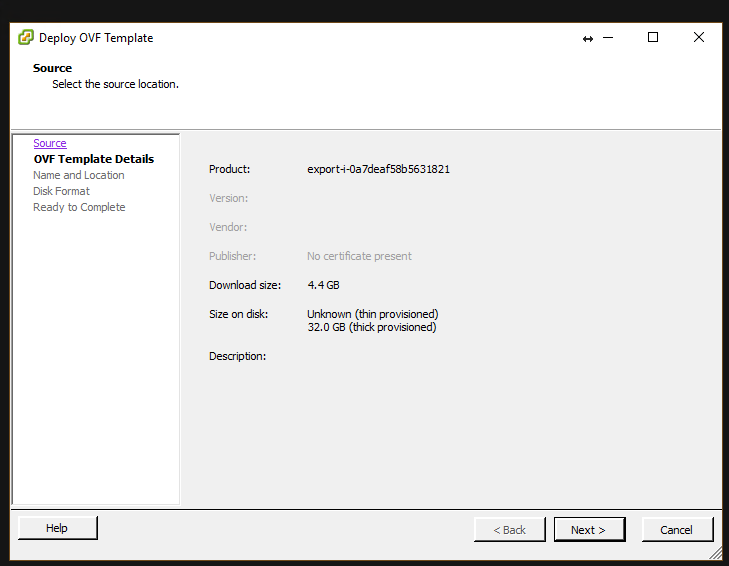
Browse to the location of the OVA file and select it. Click Next
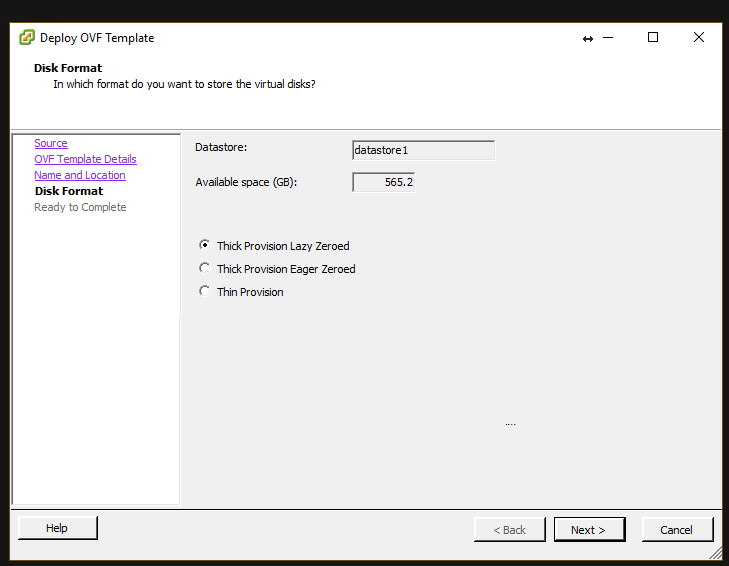
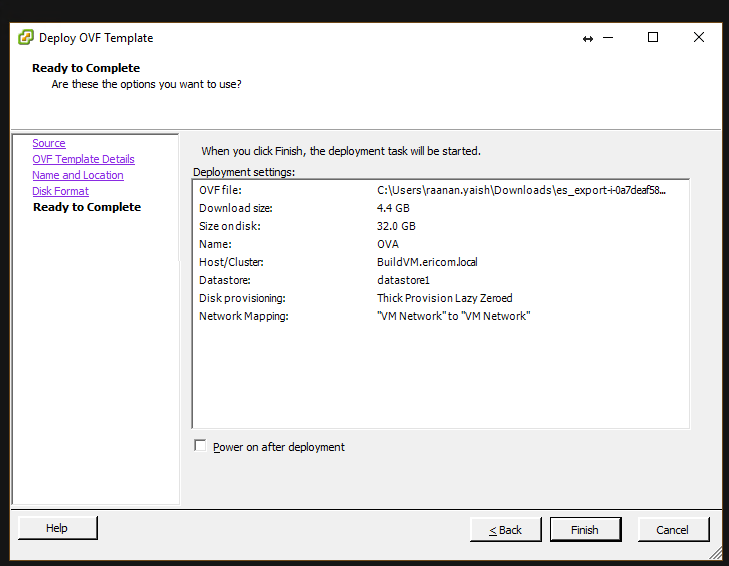
- Name the file and select the storage path. Complete all the steps and click
Finish
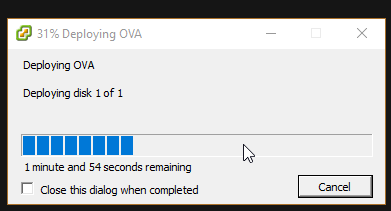
- Wait for the machine to be ready
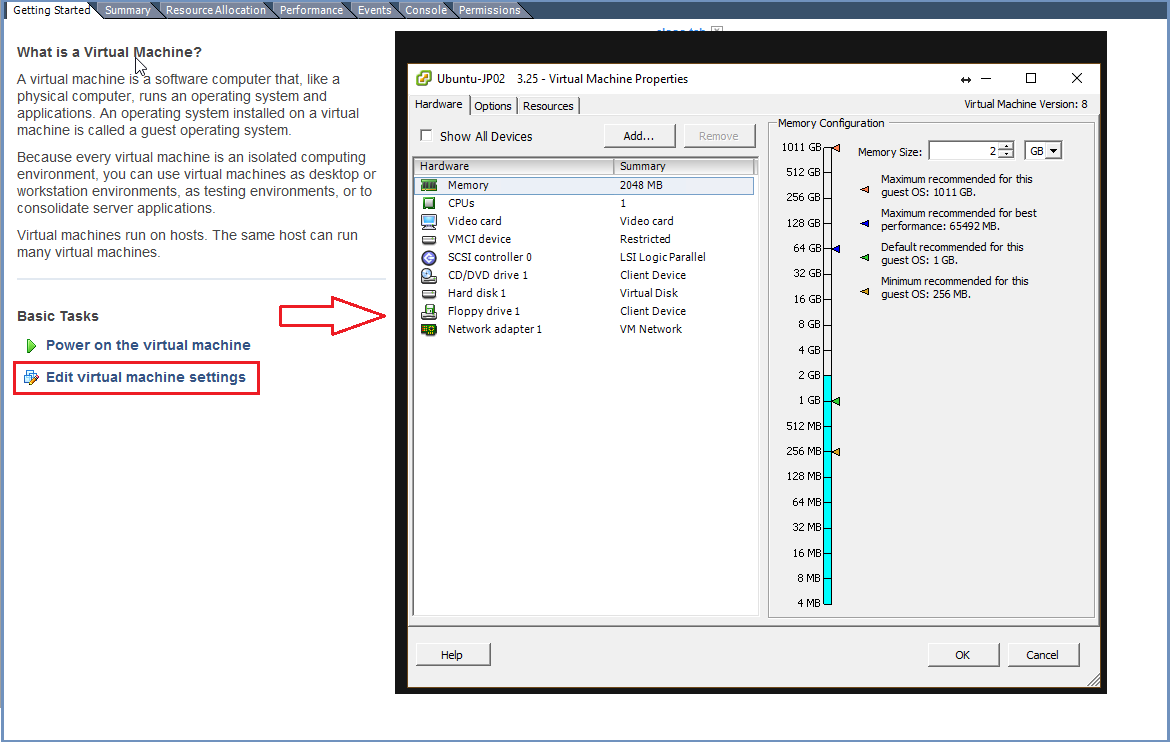
- Enter the machines settings and change the CPU to 4 cores (minimum) or 8 cores (recommended) and the memory to 16GB (minimum).
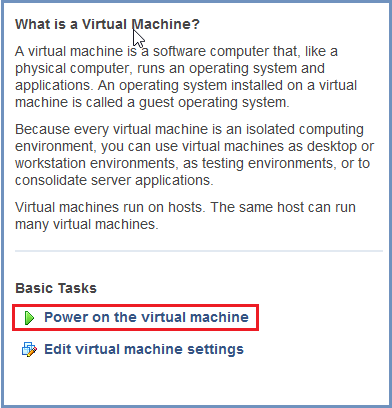
- Power on the machine.
Login using: ericom/ericomshield
Configure the IP of the machine to be unique and static:
Go to /etc/systemd/network
Edit the 20-wired.network file. Change the line with DHCP=ipv4 to refer to a specific IP address/subnet, for example:
[Match]
Name=en*

[Network]
Address=10.1.10.12/24
Gateway=10.1.10.1
DNS=10.1.10.1
Note
In case a DHCP server exists in the environment, configure it to lease a reserved (static) IP to the OVA. You should be able to determine the MAC address of the OVA by the IP address given the OVA at first startup.
All the machines should be synchronized. Configure the NTP (Network Time Protocol) and the timezone on the machine.
Rename each node with a unique name (necessary for the cluster to be created properly). As root, run:
echo "<NEW_UNIQUE_HOSTNAME>" >/etc/hostname
reboot
Reboot the machine
Repeat these steps for each machine in the system.
Create The Cluster
Once all Shield machines are ready, select a machine to be the Rancher Server to init Rancher and form the cluster.
Note
For High Availability - Shield cluster must include 3 Master (cluster management) machines
Deploy Rancher
On the Linux Rancher Server machine, run Rancher:
curl -s -o run-rancher.sh https://raw.githubusercontent.com/EricomSoftwareLtd/Shield/Rel-19.07.1/Kube/scripts/run-rancher.sh
chmod +x run-rancher.sh
./run-rancher.sh
Init Rancher - open a browser and go to https://RancherServerIPAddress:8443 (using the Rancher Server IP address).
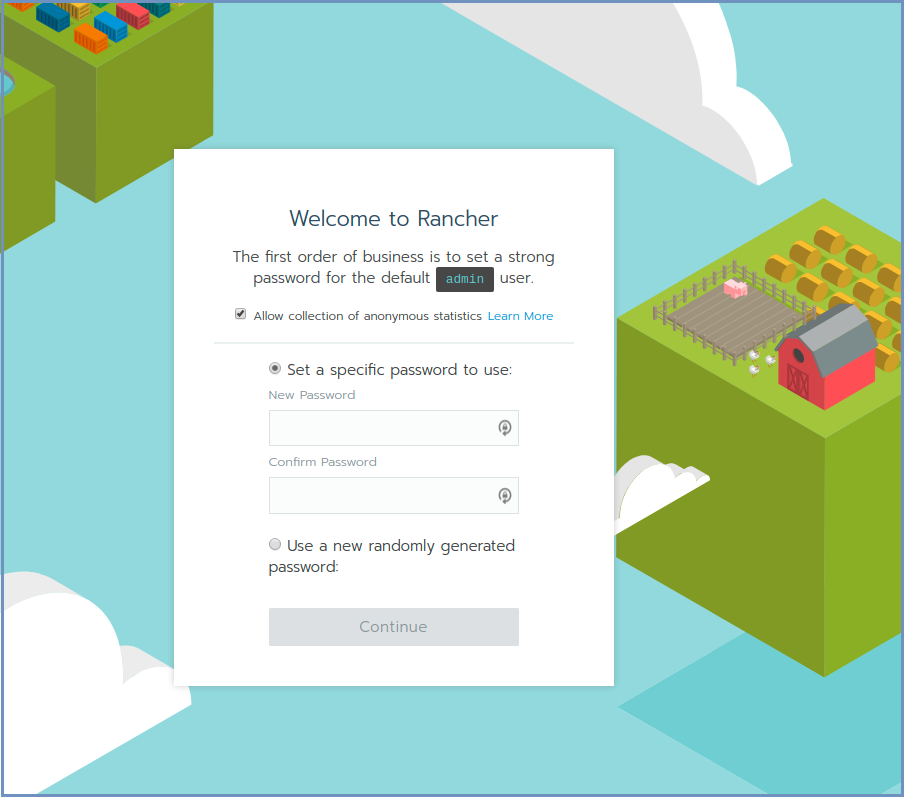
Set the administrator password (as desired) and click Continue
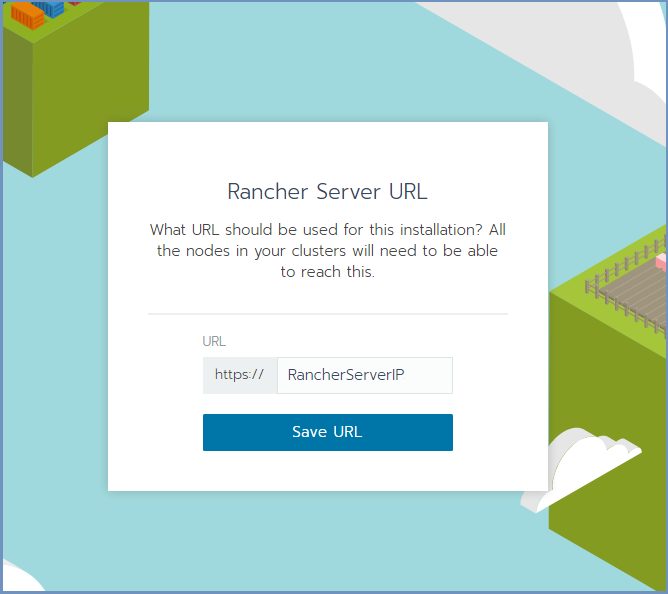
Click Save URL.
Form A Cluster & Add Nodes
In Rancher, click the Add Cluster option (on the right).
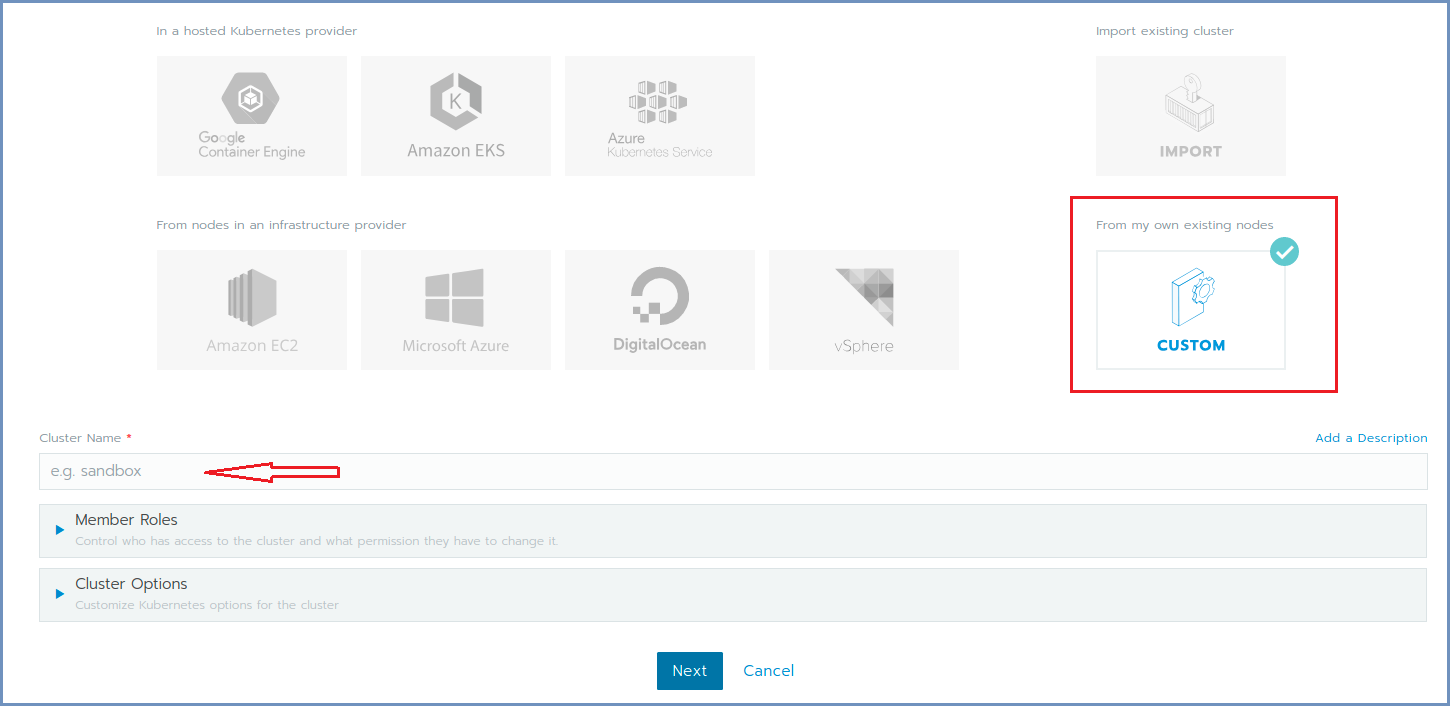
Fill in the Cluster Name.
Expand the Cluster Options and on the Network Provider select the Calico option. Click Next.
Select the required check boxes.
For a Cluster Management node (Master machine), select the etcd & Control Plane check boxes. For Worker node, select the Worker check box. E.g.,:
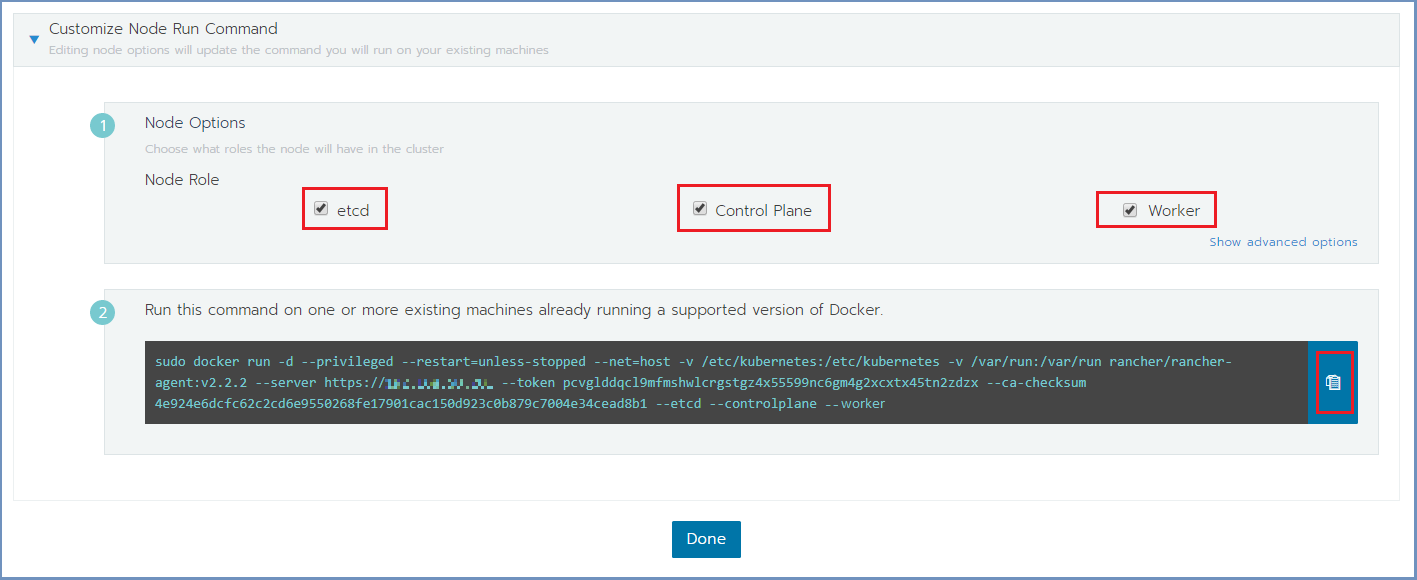
Copy the command on the bottom (using the Copy to Clipboard option in the right).
Run the copied command on EACH Linux machine to join it to the cluster. Make sure the copied command matches the
node to join (Master/Worker). Follow the node joining by clicking on Nodes in the cluster menu.
Wait until the process is finished. After the node is joined to the cluster, a green message appears at the bottom of the page.
Repeat this process per each node until the cluster is complete. Click Done.
Set Node Labels
According to the planned deployment, set the node labels for each machine:
In Rancher, select Nodes and for each node you wish to edit, select the Edit option from the menu on the right
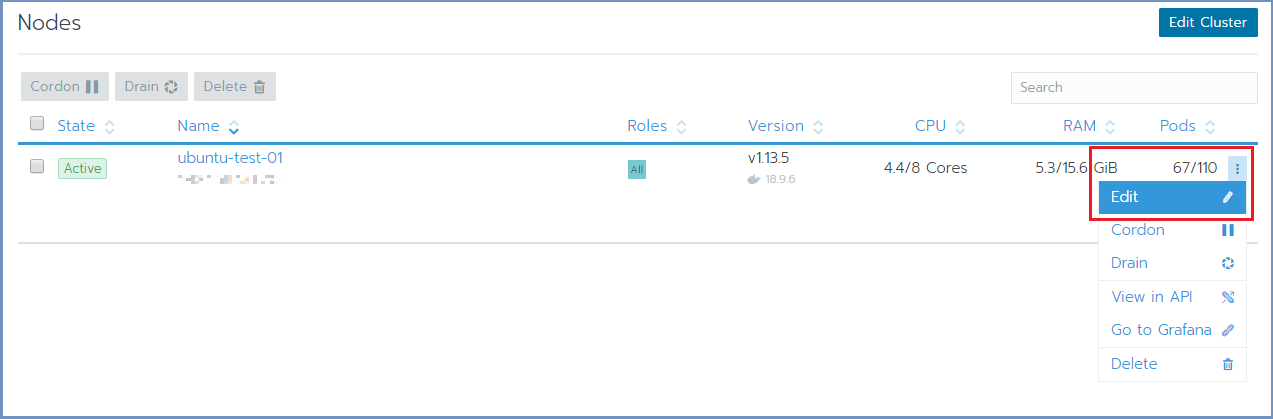
In the Edit Node dialog, expand the Labels section and add the desired labels to the node. For each label, set the value
accept. The possible labels are:
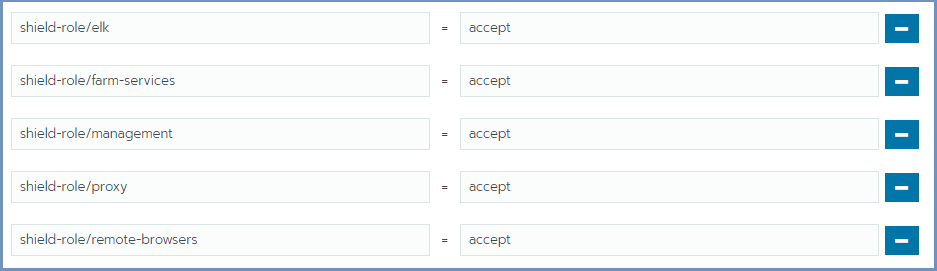
Labels can be added manually, one by one, or using copy/paste for one or more lines of the following labels:
shield-role/management=accept
shield-role/proxy=accept
shield-role/elk=accept
shield-role/farm-services=accept
shield-role/remote-browsers=accept
Press Save. The updated labels now appear on the node details:

The new Kubernetes cluster is now up and ready.
Update Kubeconfig
In Rancher, go to Cluster and select Kubeconfig File

Scroll down and select the Copy to Clipboard option. This will copy the content of the Kubeconfig file to the Clipboard.
On the Linux Rancher Server machine, create a directory named ~/.kube (mkdir ~/.kube) then create a new file named ~/.kube/config and paste clipboard content to the file.
Kubectl, helm & Shield Repository
OVA includes kubectl. Verify that it is configured properly (client and server):
kubectl version
The expected outcome is similar to:
Client Version: version.Info{Major:"1", Minor:"14", GitVersion:"v1.14.3", GitCommit:"5e53fd6bc17c0dec8434817e69b04a25d8ae0ff0", GitTreeState:"clean", BuildDate:"2019-06-06T01:44:30Z", GoVersion:"go1.12.5", Compiler:"gc", Platform:"linux/amd64"}
Server Version: version.Info{Major:"1", Minor:"13", GitVersion:"v1.13.5", GitCommit:"2166946f41b36dea2c4626f90a77706f426cdea2", GitTreeState:"clean", BuildDate:"2019-03-25T15:19:22Z", GoVersion:"go1.11.5", Compiler:"gc", Platform:"linux/amd64"}
OVA includes helm. It requires initialization. Run this script (in this case it will init the service, without re-installing it):
./install-helm.sh
OVA includes Shield Repository. Verify that it is configured properly:
helm search shield
The expected outcome is similar to:
.. figure:: images/rancher6.png
        :scale: 75%
        :align: center
To complete the process successfully, follow the steps detailed here.