Shield Installation - Legacy Mode
The information described hereunder is relevant for installing Shield in a legacy orchestration deployment.
Ericom Shield can be installed on a single machine (for evaluation purposes or for very small deployments). This can be done using the installation script or using the OVA. Installation is also available on a multi-machine system. More details here.
When using upstream proxy, it is critical to configure the servers to work with the proxy. This needs to be done correctly and prior to installing Ericom Shield. To do so, follow these steps.
Please read ALL instructions before installing.
Deployment Using Installation Scripts
Prerequisites
Linux Ubuntu 16.04 or 18.04 Server (64-bit, not workstation) - can be downloaded here
Install SSH Server and make sure that the machine has a fixed IP.
Connect to the Linux machine using SSH. Use the machine IP address as the <ShieldHostname> (will be referred to in the upcoming steps).
Note
Run commands as default user. Do not use sudo su since it should NOT be run as root. Instead use the syntax sudo <command> <parameters>.
Run The Pre-Installation Checks
Before installing, it is recommended to run some preliminary checks. Ericom Shield includes a pre-installation script that performs these checks, to verify that the requirements are met, and that the installation can be completed successfully. The script checks:
- General platform compatibility
- Total amount of memory
- Check if DNS is slow or down
- CPU performance
- Internet connectivity and speed
- Storage speed and free space
Note
This is the most extensive set of tests. Some of these tests are performed in the system on other occasions (Periodic and Analyzer), but in a partial manner.
To manually run this script, please run the following commands:
sudo wget https://raw.githubusercontent.com/EricomSoftwareLtd/Shield/master/Setup/shield-pre-install-check.sh
sudo chmod +x shield-pre-install-check.sh
sudo ./shield-pre-install-check.sh
If the script output includes a WARNING regarding some checks - it is recommended to solve these issues before proceeding with the installation. If these warnings are ignored, it may lead to a system malfunction.
If the script output includes a FAIL regarding one of the checks - installation cannot be completed until this issue is resolved. Please verify the issue is handled and resolved and only then proceed to the next step.
Run The Installation Script
To proceed with the installation, run the following commands:
sudo wget ericom.com/shield/setup.sh
sudo chmod +x setup.sh
sudo ./setup.sh
The installation process may take several minutes to complete. The pre-installation checks are performed as part of the installation script. If these checks are completed successfully, the installation commences.
If the installation is completed successfully, this output is displayed:
Ericom Shield Version: - SHIELD_VER=(# of version) is up and running
Ericom Shield is installed in /usr/local/ericomshield.
Shield includes an auto update mechanism. It is disabled by default (to allow manual updates upon request). When enabled, Shield will always be up to date with the latest production version. To enable this mechanism once the installation is finished, run the update service once:
sudo /usr/local/ericomshield/update.sh sshkey
Credentials are required. This will create the SSH certificate on all the system machines. This is required for future updates. For more details regarding the auto update mechanism, go here.
Now that the installation is complete, activate the license. For more details, go here.
Deployment Using OVA File
Prerequisites
VMware vSphere versions 4, 5 or 6. With:
- 16GB memory
- 8 core processors
- 64GB disk space
Download the OVA file from here.
Deployment
- From the VMware vSphere client, select
File > Deploy From OVF Template.
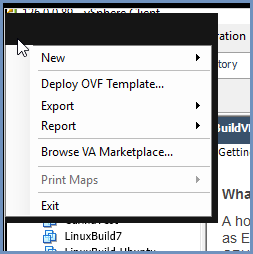
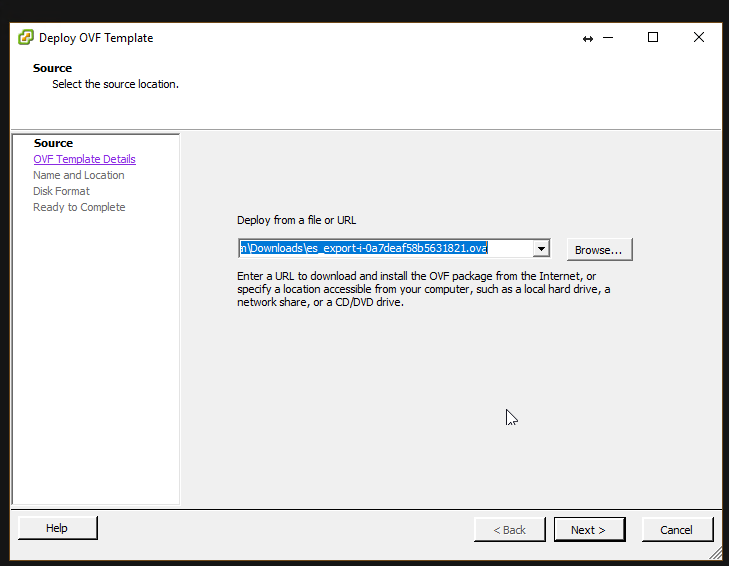
Browse to the location of the OVA file and select it. Click Next

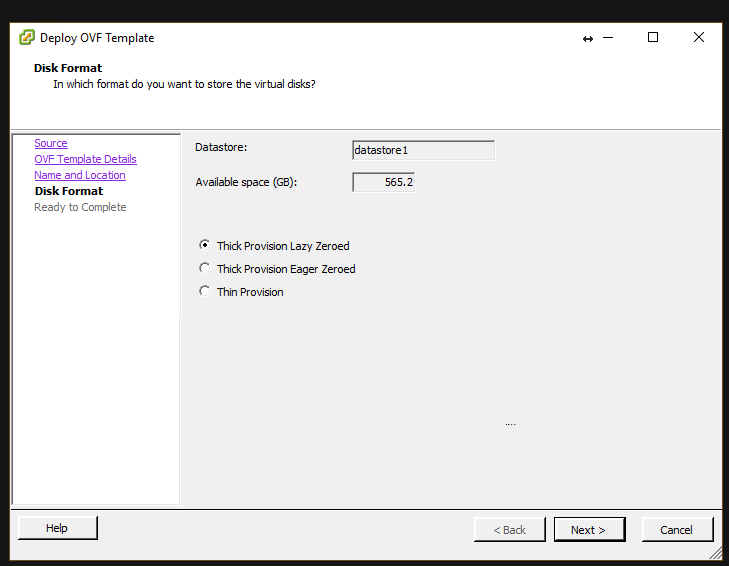
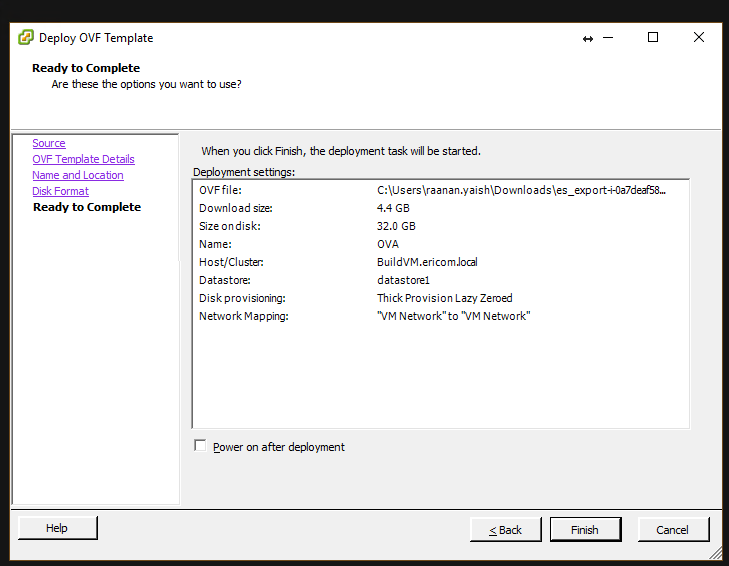
- Name the file and select the storage path. Complete all the steps and click
Finish
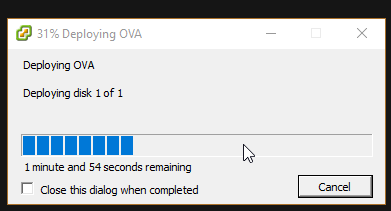
- Wait for the machine to be ready
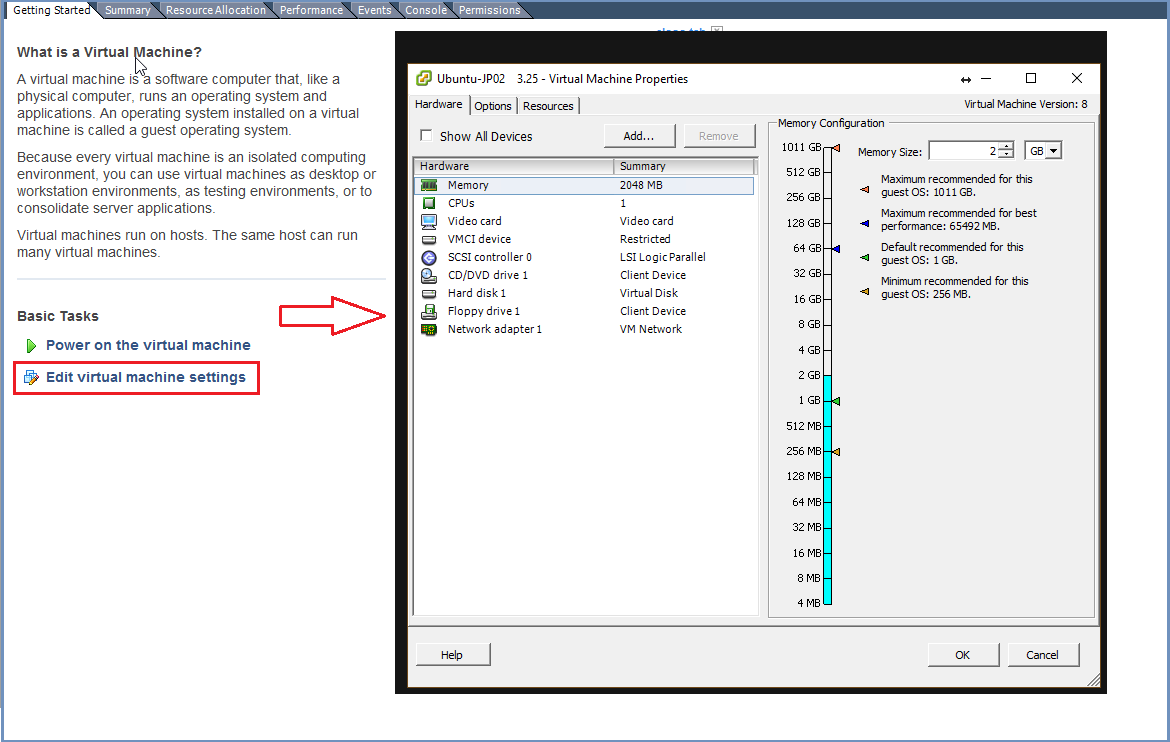
- Enter the machines settings and change the CPU to 4 cores (minimum) or 8 cores (recommended) and the memory to 16GB (minimum).
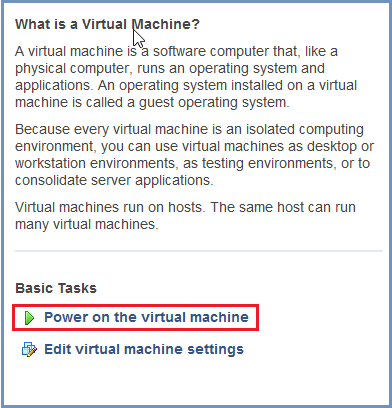
- Power on the machine.
Login using: ericom/ericomshield
Configure the IP of the Server to be static IP:
Go to /etc/systemd/network
Edit the 20-wired.network file. Change the line with DHCP=ipv4 to refer to a specific IP address/subnet, for example:
[Match]
Name=en*

[Network]
Address=10.1.10.12/24
Gateway=10.1.10.1
DNS=10.1.10.1
Note
In case a DHCP server exists in the environment, configure it to lease a reserved (static) IP to the OVA. You should be able to determine the MAC address of the OVA by the IP address given the OVA at first startup.
Reboot the machine.
Once it is back up, run Shield:
cd /usr/local/ericomshield
sudo ./start.sh
Wait for system to be up and running
Backup
Shield Backup is located in /usr/local/ericomshield/backup.
Save this folder to an external location for safekeeping. This can be done using rsync or any other related service.
Useful Services
Ericom Shield includes the following useful services:
Check System Status
To check the system status at any time:
sudo ./status.sh

This service includes several options. The output of the different service options is very useful to understand if there’s a problem in the system:
A general view of the system status:
sudo ./status.sh -a
The data returned consists of two sections. Upper section includes services details and bottom section - a summary about the system status.
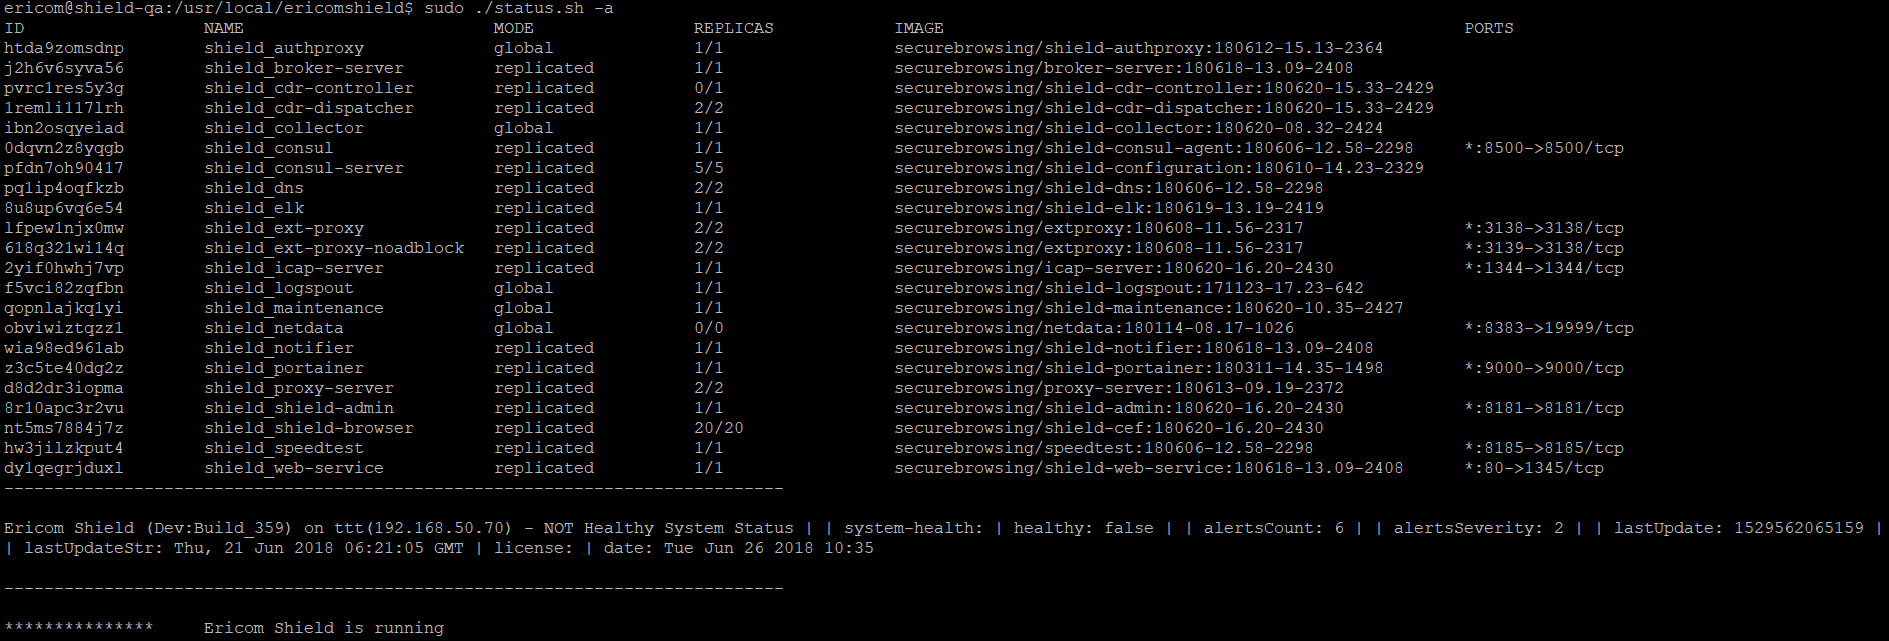
Note
When there are alerts in the system, the system is marked as NOT Healty (does not mean it is not running). Information about the alerts can be found in the Admin dashboard.
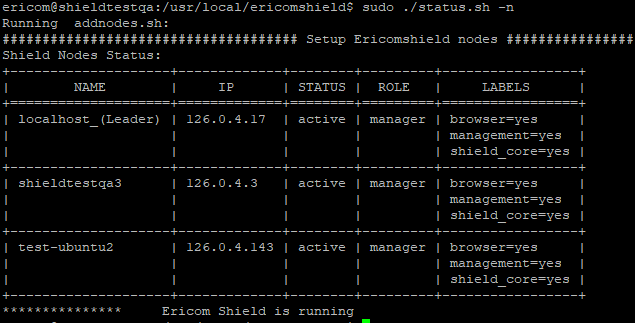
List the nodes in the system (single/multi), including data about each node:
sudo ./status.sh -n
The output is a table with all the nodes in the system:
List the services in the system:
sudo ./status.sh -s
Prints a detailed report of the services in the system and which service runs on which node.
List the errors in the system (single/multi), including data about each node:
sudo ./status.sh -e
The output is a table specifying errors in the system (if any exist):

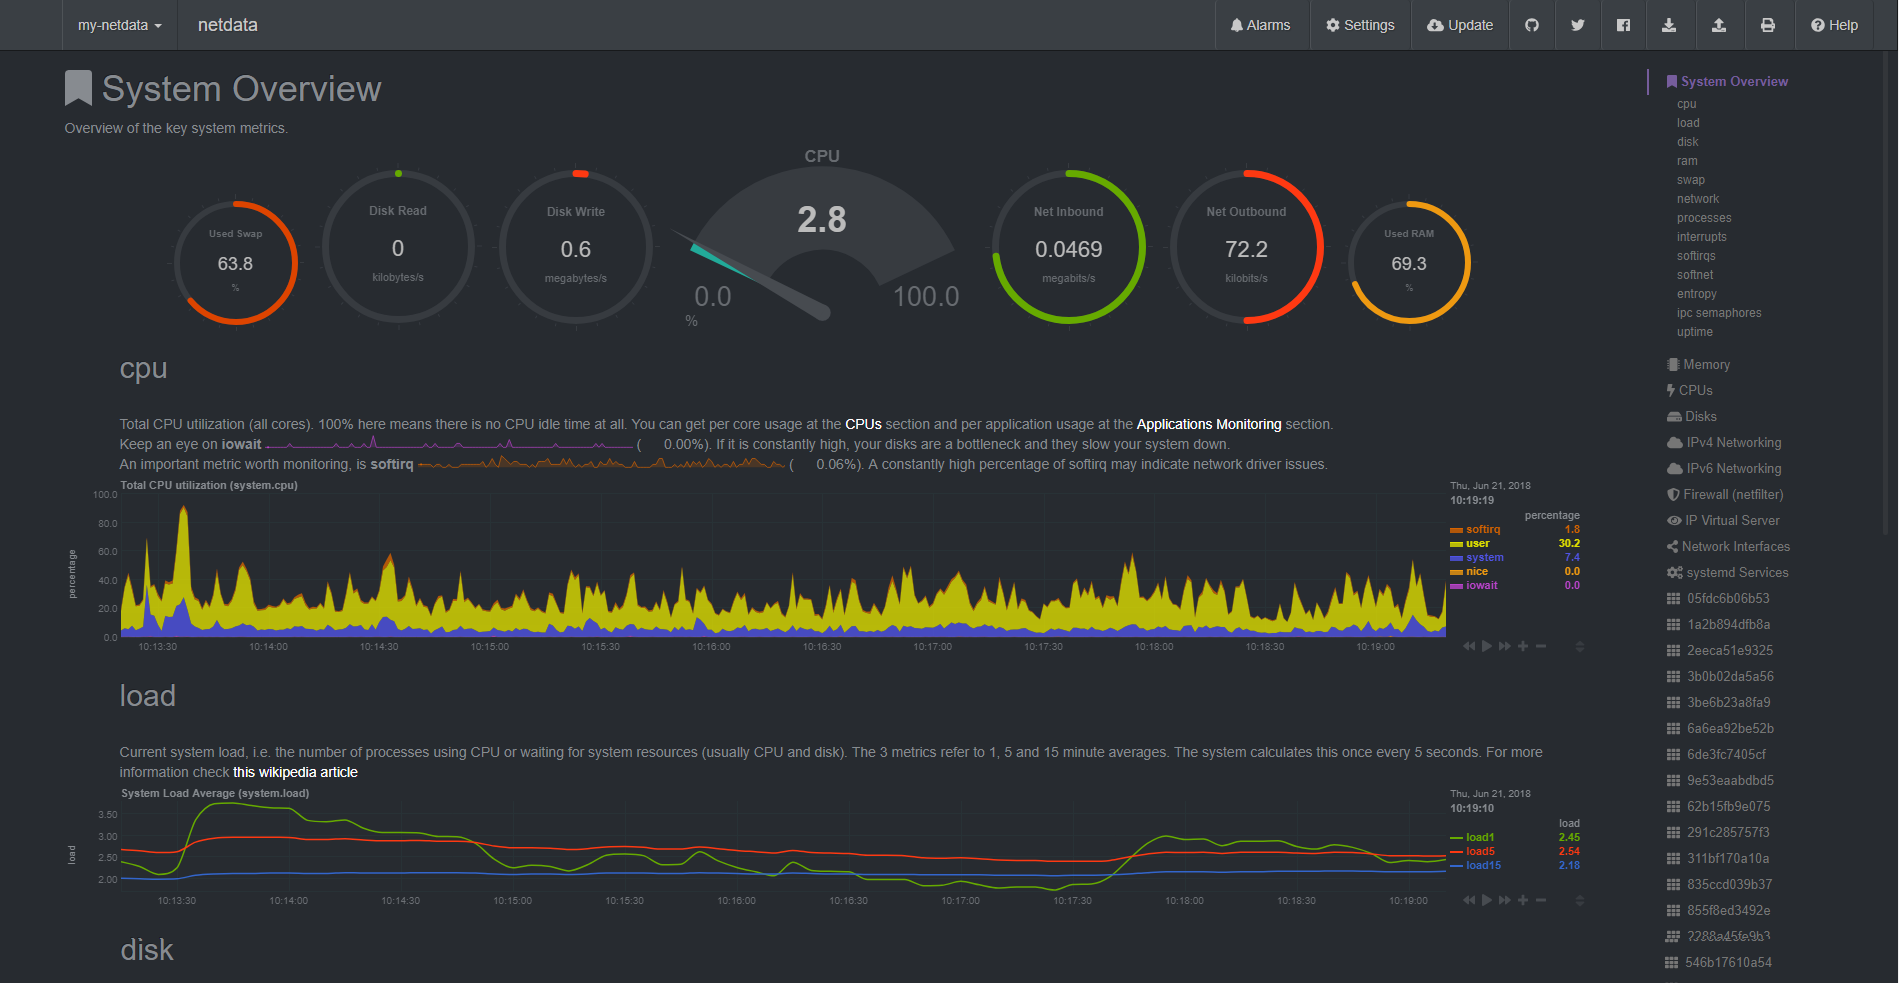
NetData
Ericom Shield includes an optional, real-time performance monitoring service, using Netdata. This service can be used for any management node in the system.
To enable this service, run the following commands (on the desired management node):
cd /usr/local/ericomshield
sudo ./nodes.sh -add-label <NodeName> netdata
Once enabled, this service is available on port 8383.
To check out the current system status, go to http://<NodeHostname>:8383. The data displayed includes various parameters. Below is a partial view: